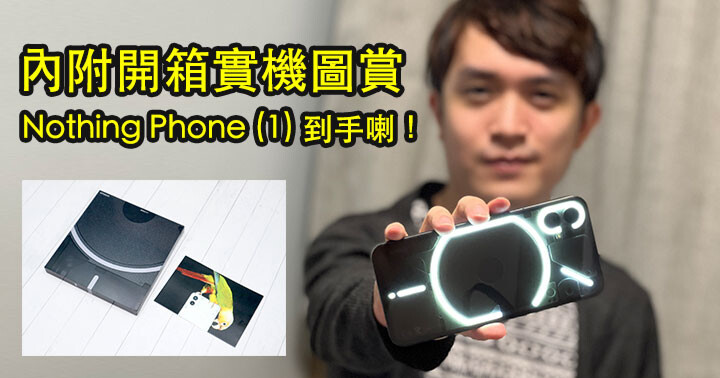
透明後背設計,具有用 900 盞 LED 燈組成的 Glyph Interface
在外觀方面,Nothing Phone (1) 採用了 6.55 吋 OLED 屏幕,支持 10 億種顏色以及 HDR10+,令對比更鮮明,並支持 120Hz 屏幕刷新率。而機背採用了獨特的透明機殼,這個後蓋是由 400 多個零件組成,令設計不只限於表面。另外,由 100% 再生鋁製成的邊框相當輕巧耐用,超過 50% 的塑膠零件來自生物基及可回收資源。同時,手機具有雙面 Gorilla Glass 5 玻璃,能夠提升手機耐用程度,而先進的震動摩打,則讓觸控反饋更加清脆。Nothing Phone (1) 具有 Glyph Interface 設計,號稱可以有效減少屏幕使用時間。Glyph Interface 由 900 盞 LED 燈組成,帶來獨有的燈光效果,可用來識別來電者身份、提示應用通知,以及顯示充電狀態等等。你亦可以為每個聯絡人設置專屬鈴聲,配搭獨有的 Glyph 圖案,更容易辨識來電。另外,Nothing Phone (1) 亦具有 Flip to Glyph 功能,只要翻轉手機,將 Glyph Interface 朝上,就可以進入靜音模式,啟動燈光通知。而 Glyph Interface 只要將亮度調到最高,則可以變身成便攜式環形閃光燈,用柔和光線照亮拍攝對象。
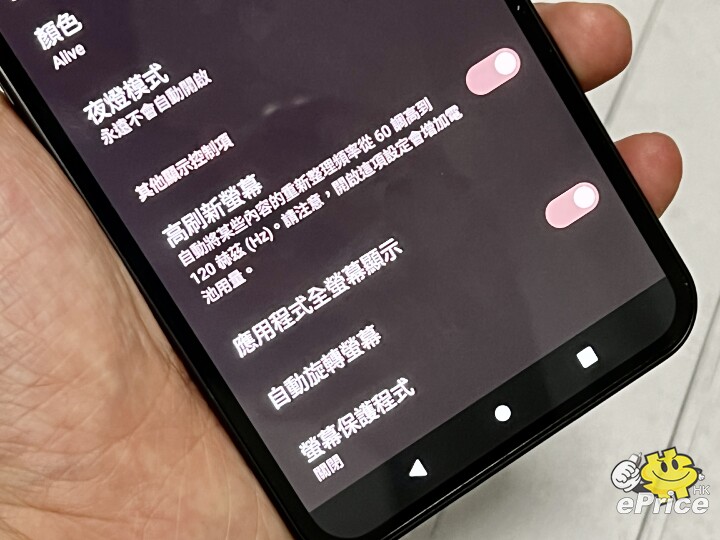
▲ 支持 120Hz 屏幕刷新率,會自動根據畫面內容,自動調整。
Nothing Phone (1) 開箱 + 實機圖賞!
說完 Nothing Phone (1) 的外觀、設計文字介紹之後,事不宜遲就讓版主為大家做個開箱,給大家看看手機的外觀。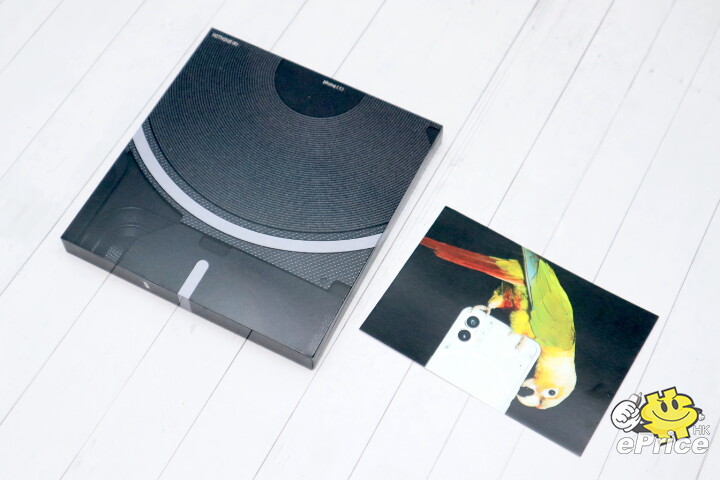
▲ 收到 Nothing Phone (1)!除了包裝盒,另外仲有一張印有一隻鸚鵡同手機的相片。
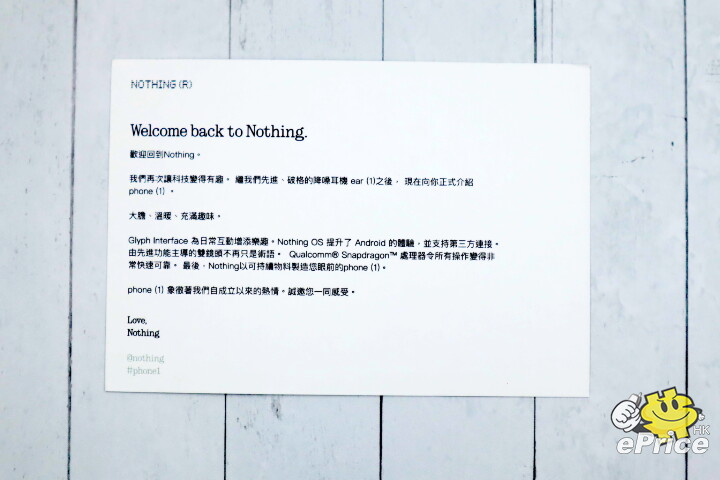
▲ 而張卡背後就寫上一些歡迎、感謝的字眼,不過據說這張卡是給媒體才有。
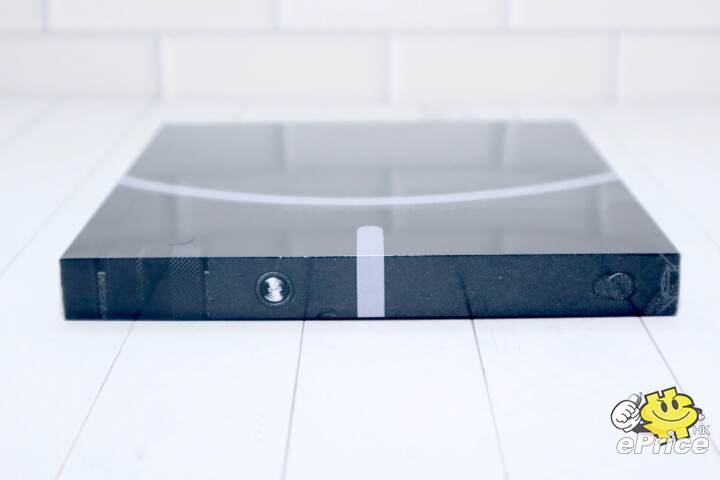
▲ 叫做 Nothing,就連火牛都「Nothing」,所以跟機無火牛,包裝盒可以做到這麼薄。
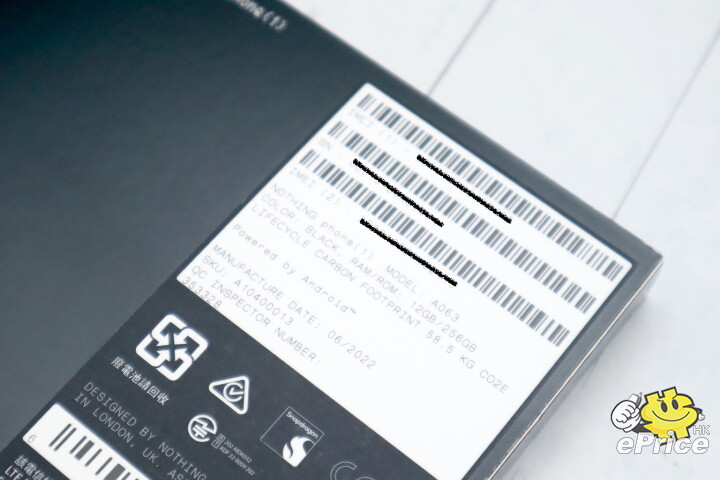
▲ 包裝盒背面會有我手上的 Nothing Phone (1) 一些基本資料,收到的是黑色版本,12GB RAM + 256GB ROM。
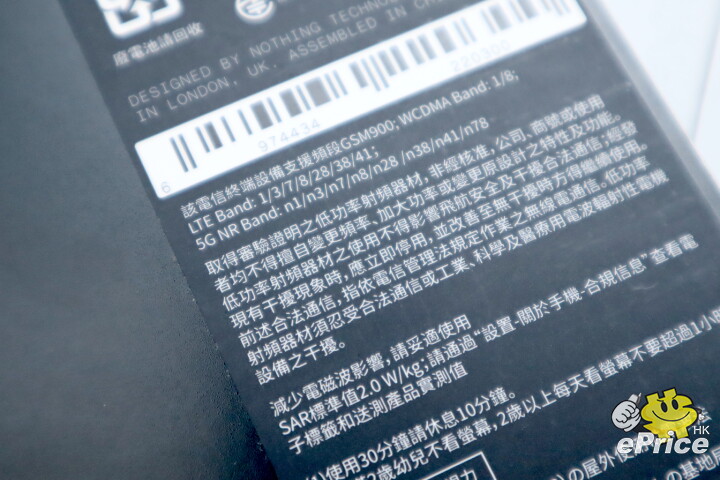
▲ 另外都有印有手機的頻段資料,就 5G 頻段來說,N1、N3、N78 都有,但就沒有 N79。
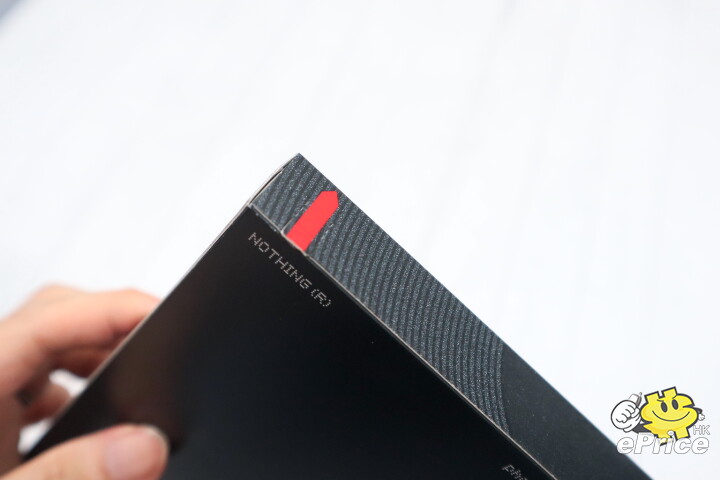
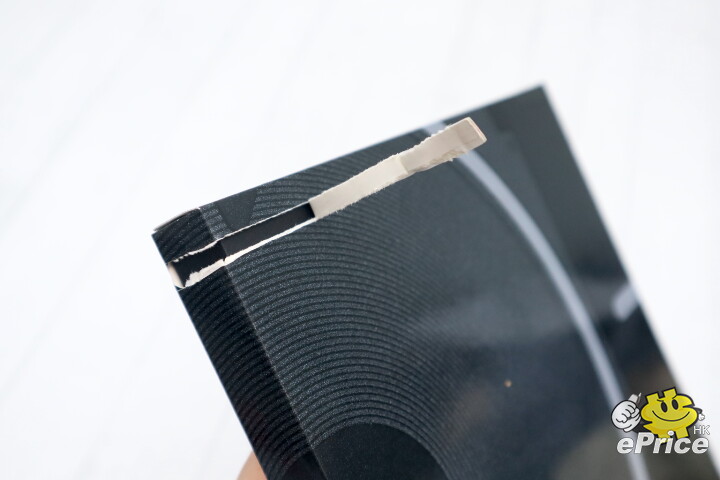
▲ 同平時手機的包裝盒不同,你要直接將包裝盒撕爛。
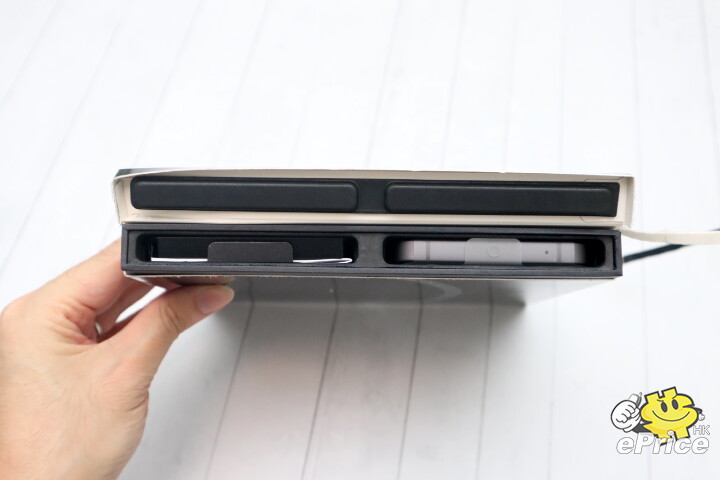
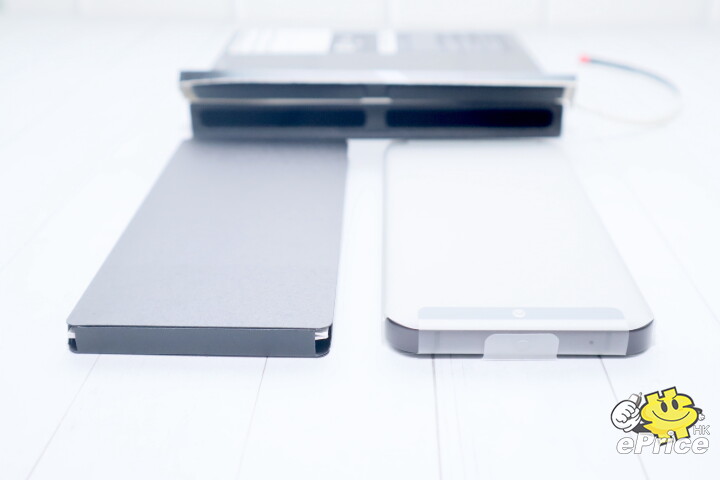
▲ 撕完是這個樣子,左邊的是裝着配件,右邊是手機。
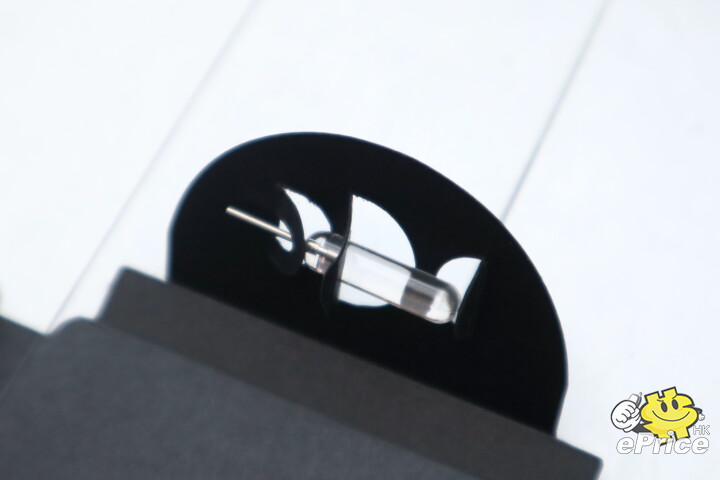
▲ Nothing 枝 SIM 卡針都特別過人。
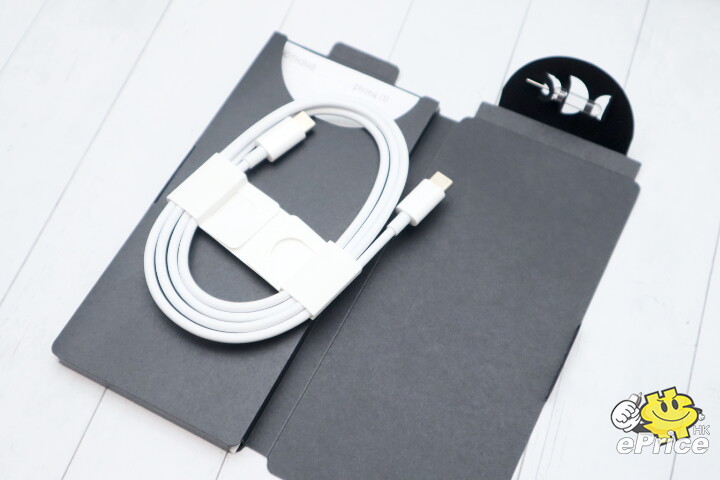
▲ 另外都附有 USB Type C 線。
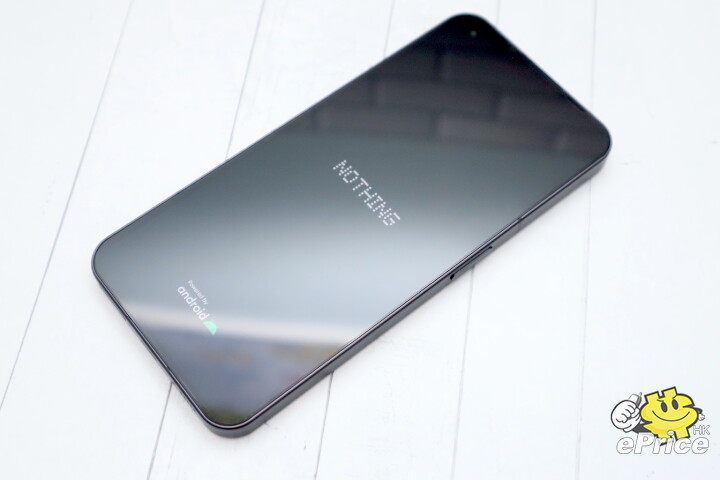
▲ 開機喇!
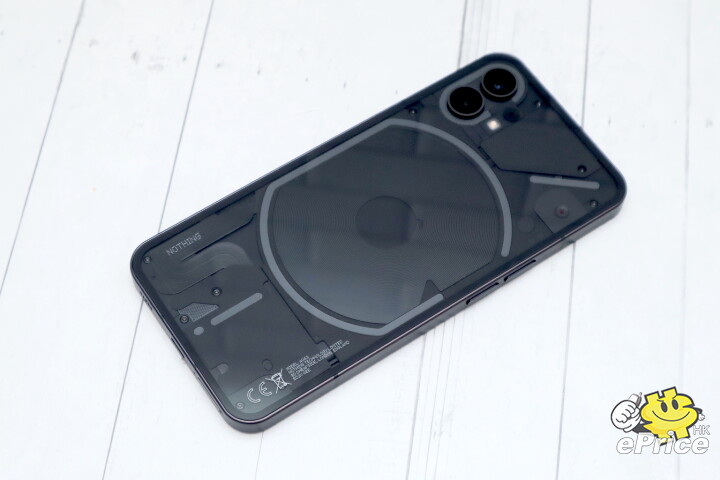
▲ 趁住開機,先看看手機背面。我手上的是黑色版本,見到機殼是透明的,然後會見到用於 Glyph 介面的 LED 燈 (上圖白色的線都是 LED 燈)。
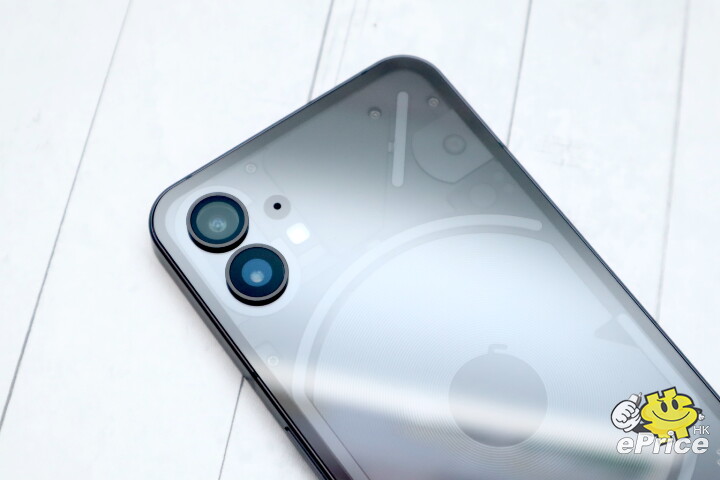
▲ 右上角是雙鏡頭。
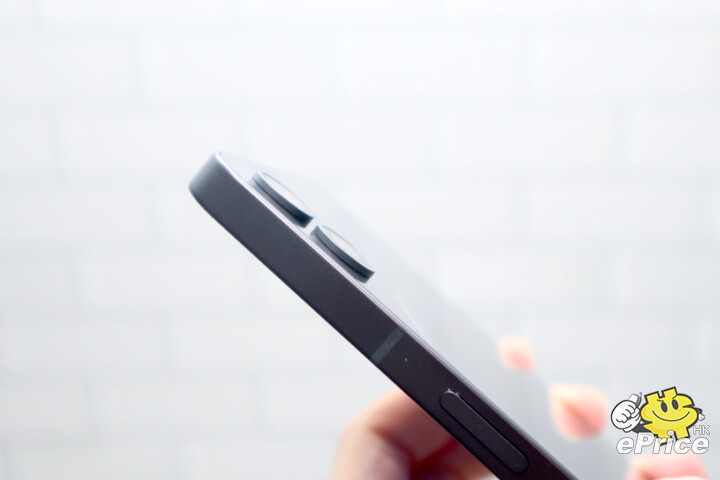
▲ 鏡頭都是會有少少凸出。
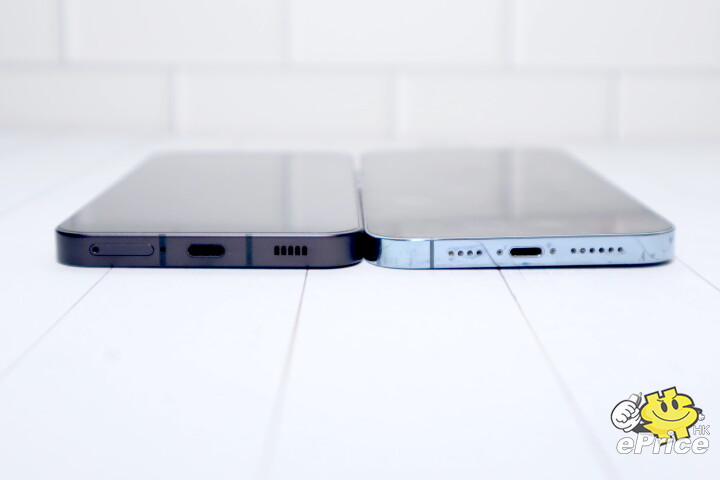
▲ 底部有雙 SIM 卡槽以及 USB Type C 插槽,厚度感覺跟 iPhone 13 Pro Max 不相伯仲。
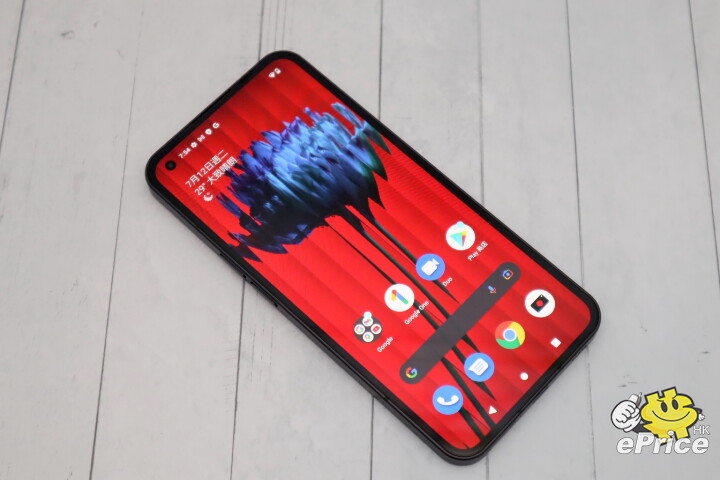
▲ 好啦,開完機設定完,反回正面,會見到 6.55 吋 OLED 屏幕。
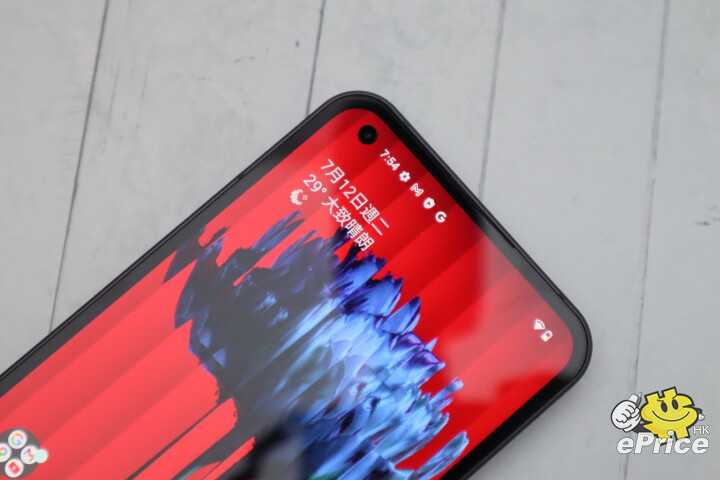
▲ 屏幕左上方為圓形挖孔,放置前置鏡頭。
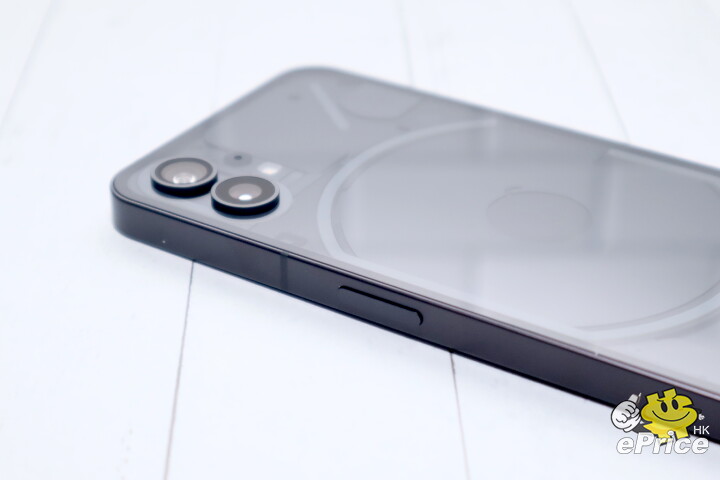
▲ 機身右側為電源鍵。
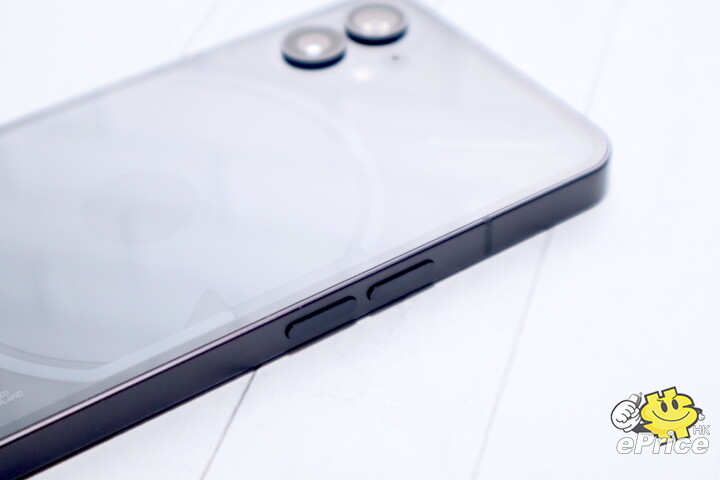
▲ 而機身左側則有音量鍵。
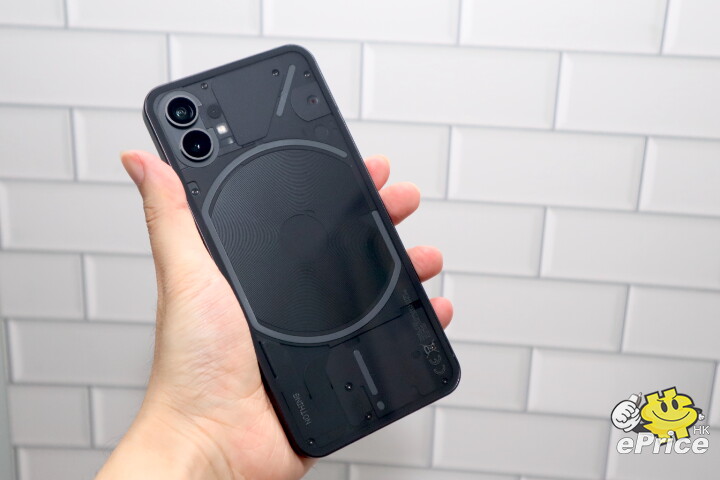
▲ 拿上手,其實相當靚仔,但感覺機背這個設計,會比較容易沾手油,導致在使用時,我經常都不想將掌心貼近機背,避兔沾手油。看就美觀,用就需要勤清潔。而對比起我手上的 iPhone 13 Pro Max,則相對輕一點。

▲ Nothing Phone (1) 設計上的賣點就是有 GLYPH 介面這個功能,讓機背的 LED 燈,可以針對不同的來電者,設定不同的通知鈴聲以及不同的閃動效果。
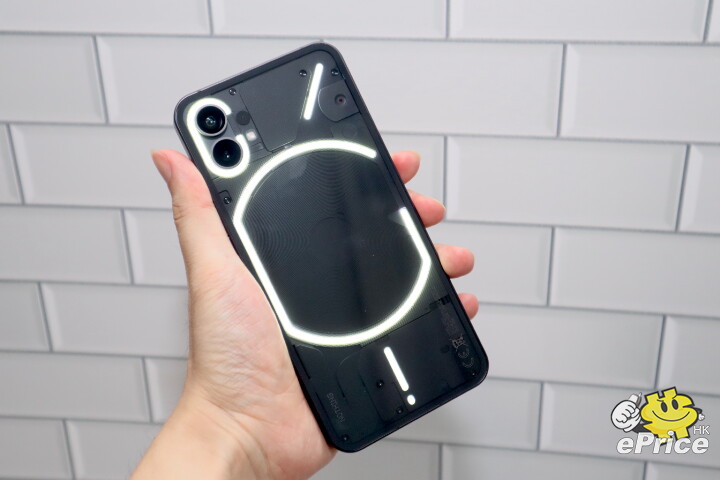
▲ 亦可以變身成便攜式的環形補光燈,在使用相機時,可以設定用 LED 燈還是閃光燈去補光。


